DIY Wine Rack
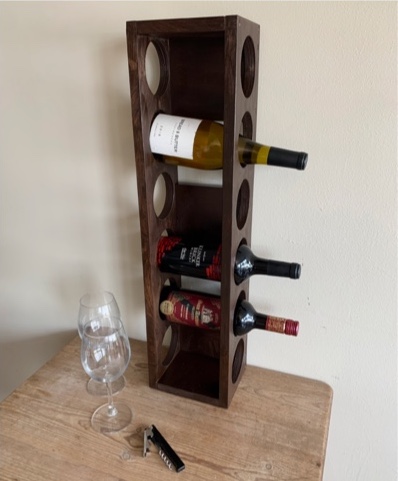
This DIY Wine Rack offers a practical solution for wine storage while also being a great conversation starter at your next party!
Download PDF Guide- (1) 1 in. x 6 in. x 8 ft. Maple
- (1) Oil Wood Stain
- (1) Stain Brush
- (1) 3-1/2 in. Hole Saw
- (1) Hole Saw Arbor
- #6 x 1-5/8 in. Wood Trim Screws
- 3/32 in. Drill Bit
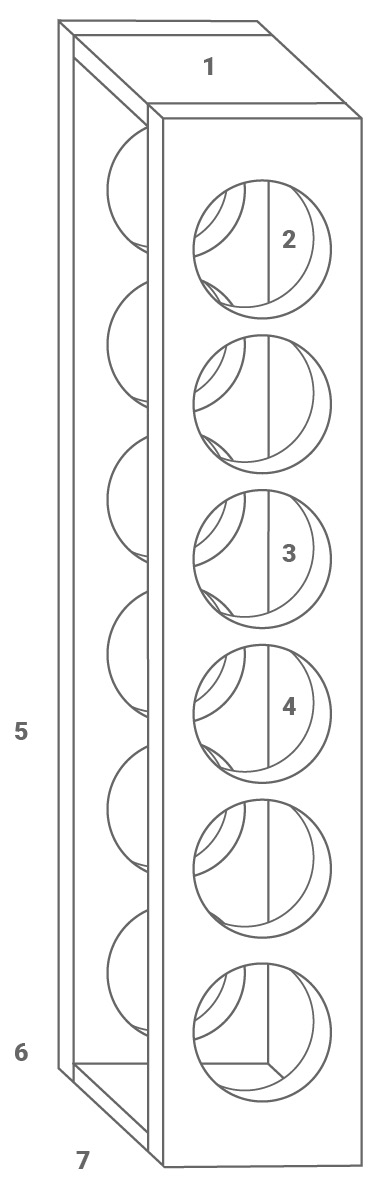
- Cut the 1 in. x 6 in. x 8 ft. board of maple into the following lengths: (a) (2) 28 in. (b) (5) 5-1/2 in. Squares NOTE: a 1 in. x 6 in. is already 5-1/2 in. wide
- Mark the center of each 28 in. board. This is 2-3/4 in.
- Now that you have the center marked, measure the location for each 3-1/2 hole to be drilled. The center of each hole will be at these increments: 2-3/4 in., 7-1/4 in., 11-3/4 in., 16-1/4 in., 20-3/4 in., 25-1/4 in. Be sure to mark these along the centerline. Do this for both 28 in. boards.
- Clamp down the 28 in. and proceed to drill the holes using the 3-1/2 in. hole saw. Remember to start the hole with the pilot bit on each marking you made on the centerline. This will ensure even spacing between each hole.
- Sand all pieces with 100 grit sandpaper prior to assembly.
- Begin assembling your wine rack by attaching one of the 5-1/2 in. squares to each end and on the bottom, creating an L-shape on the ends. The final 5-1/2 in. square will be placed on the bottom and in the middle. Be sure to pre-drill where you plan to put the wood trim screws with a 3/32 in. drill bit. This will prevent cracking.
-
Stain wine rack with a wood stain of your choice.
Tag #HarborFreightProjects to Have Your Project Featured!